Showing posts with label scrappy. Show all posts

Friday, March 13, 2015

Follow-Up-Friday: What I've Been Up To!!!

Hi peeps! 


How's everyone doing today??? We are having crazy weather…sunny and up to 55 degrees one day, then cold and rainy the next!!! It's really doing a number on my migraines and the Fibromyalgia…grrr!

As promised in this post,I had some fun playing with my citrus HST's. I came up with the above placement and sewed them all together yesterday. I have to say that this is the first time ever, that my HST's have worked out! This time I was very careful to mark my sewing lines and I actually trimmed them too! What a difference that made!


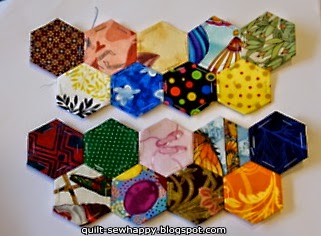
I also promised to show you what I get up to in the evenings while binge-watching Netflix(we are on season 4 of House, MD and season 3 of House of Cards). Well, I sew English Paper Pieced hexagons(1" sides)…a whole lot of them!!! 

Pictured is a pile of about 75% of the hexies I have already done for the Kid's quilt.  These ones have already been sewn together in threes…which I call "triplets".


Once I get all my "triplets" done, I sew three of them together, side by side, into "niners". Sew, sew, sew!!!


I store my "niners" in a plastic shoebox. I have them wedged in there very tight, so they actually press themselves. This also keep them nice and flat as when I sew them together they kind of curl up at the ends.


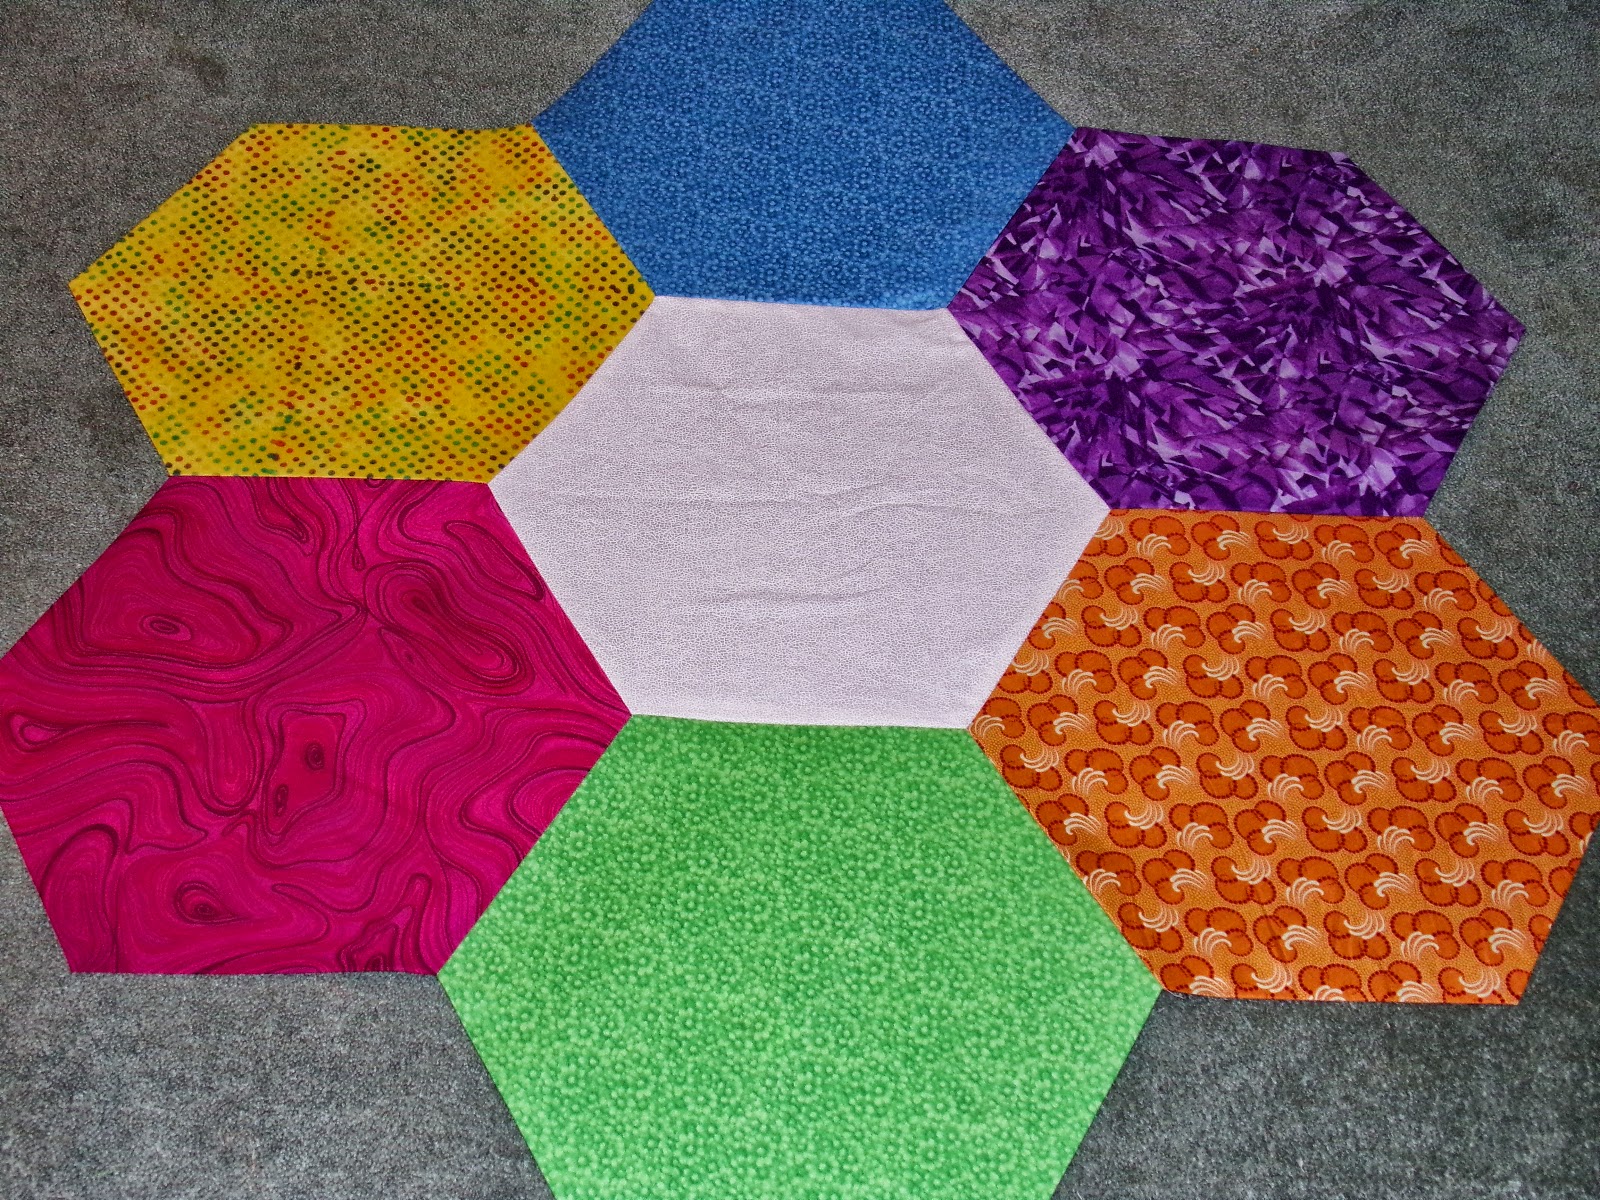
Once the "niners" are all sewn together, I stack two of them to make an "18-patch". 


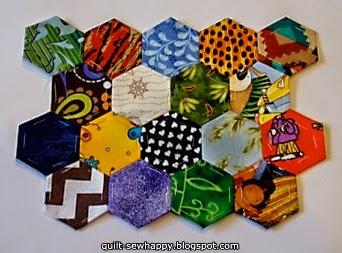
This is my basic block and they are all super scrappy. This quilt, like the one I made for us, will have 216 of these 18-piece blocks and will measure 96" x 113", plus a 4" border. It makes a pretty huge quilt, but that also means you can double it over on itself and have a two-layered quilt for especially cold nights.


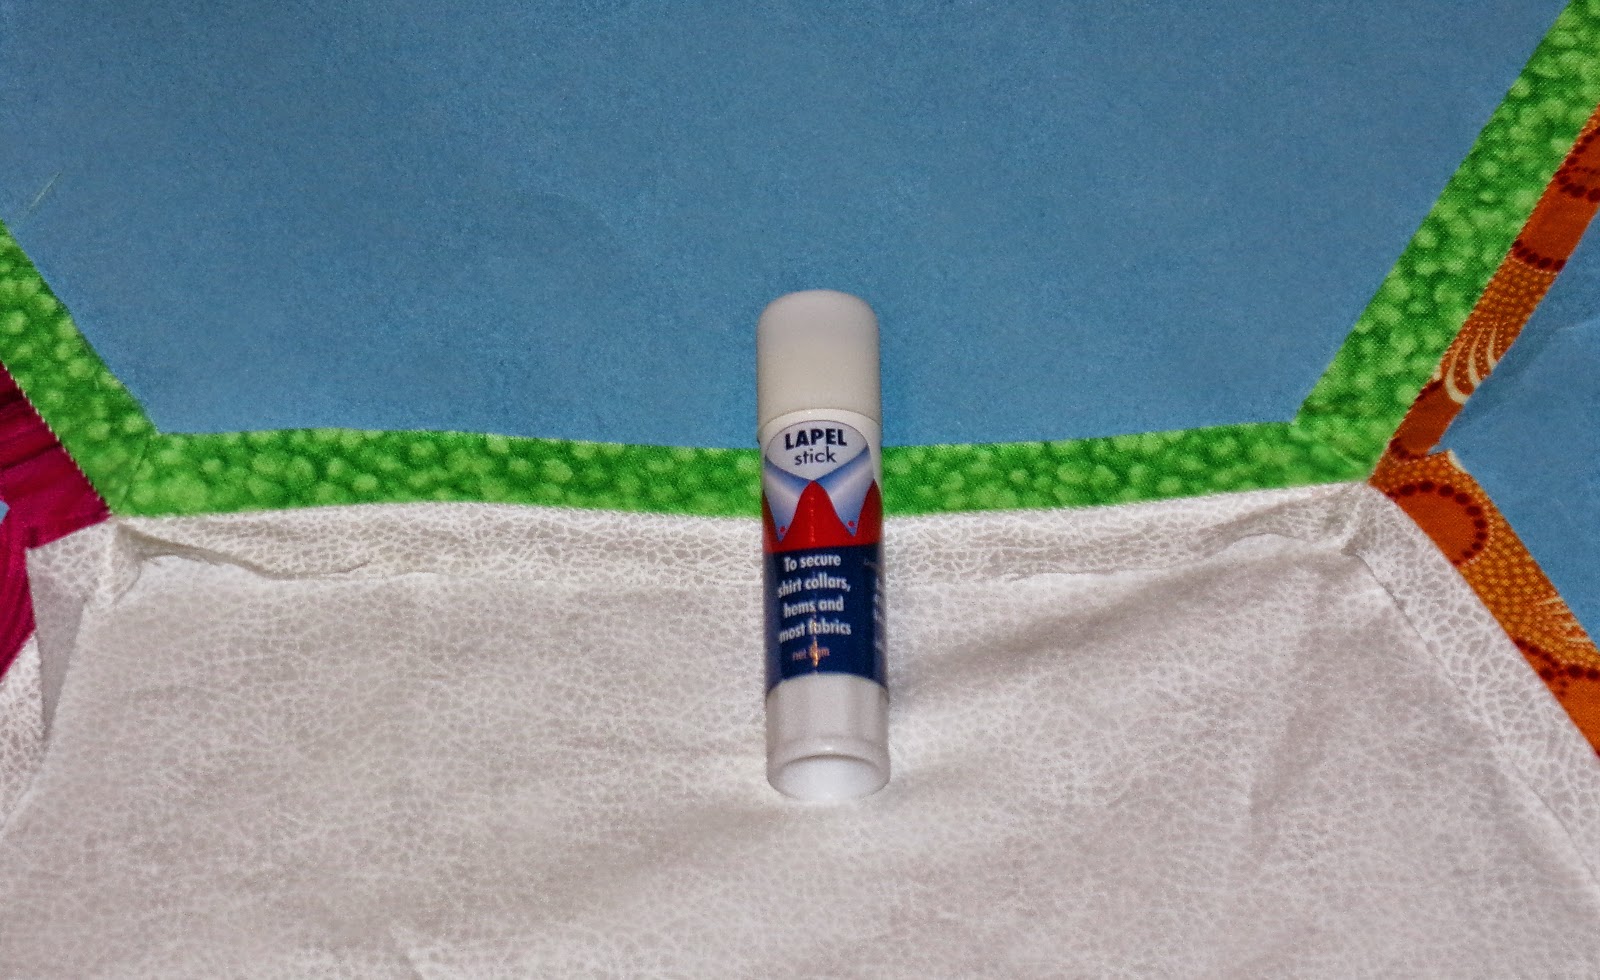
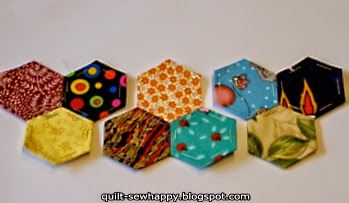
These are the half-hexagons I have already basted. The ones like the yellow one on the left will be for going down the right and left sides of the quilt and the ones like the red one on the right will be sewn onto the top and bottom blocks. 

Once I have my "18-patches" done, I lay out the ones I want for the top and bottom as well as the right and left sides, then I attach a numbered label(i.e.: T1-meaning the top left-side block). That way I know which blocks go where and can attach the half-hexies. It would be way too cumbersome to have to attach these small pieces once the body of the quilt is all sewn together.

Question of the Day:

Have you ever made a quilt using the English Paper Piecing technique? If not, would you be interested in a tutorial on how to baste the fabric to the paper shapes, then sew the shapes(hexies) together?

Sharing is caring!!!

Don't forget that I am happy to share…feel free to pin to Pinterest, post on Google+ and Facebook, and Tweet away*! Just please make sure your posts link back to this blog. 

*If you mouse/hover over the top right corner of my photos, a red pin-it button will show up and all you have to do is click it to be taken to your Pinterest boards. There is also another red button right beside it for posting to Facebook and Twitter. Or, you could always use the little grey square buttons at the end of this post.

Thanks for reading and have a great day! 

Quilty Huggs, 

Jacqueline 

PLEASE NOTE: The writer of this blog accepts forms of compensation such as, but not limited to; fabric/notions/patterns/books in exchange for a posted review. All comments/critiques/opinions are completely my own and are not those of the provider. This post may also contain affiliate links and I will receive a small commission if you make a purchase after clicking on my link. Thanks!

Wednesday, August 13, 2014

Happy Mail, an awesome sale and Work-in-Progress Wednesday

Hi peeps!


As you all know, I am a Craftsy Affiliate. I wanted to show you some of the great things they have on sale at the moment. 

This class has been on my wish list for a little while and is on sale for only $19.99(C$)! But not for long…sales change quickly on Craftsy.

FYI: all prices listed here are in Canadian Dollars. Prices will be even cheaper in the USA!


The Barcodes quilt kit is on Clearance for only $33.29 and comes in two colour ways. I bought the Boysenberry kit, as you can see below. 


This one is the Twisted Irish Chain-Granny Squares Kit, for only $41.62, which is  a great deal considering you get 15 fat quarters of designer fabric, Kona cotton in grey for the 'chain' pieces and a half yard for your binding.


Here is my happy mail!!! As you can see, the Barcodes kit in Boysenberry is rich and dark. A super-easy pattern, you could get it done in a day or less!

The Twisted Irish chain kit has some very modern colours that are a bit out of the box for me, but I am game to get it together. The pattern, by the wonderful Amy Smart, is sent to your patterns library in Craftsy, so that you can access/print it as many times as you like!


I got some pre-cut yardage of Kona cotton in Rich Red, White and Black. They are on sale for up to 35% off! They come nicely packaged in reusable zip bags.


Here are the pre-cuts I scored, at super prices! The Kona-white charm packs are $7.28 right now! Riley Blake small chevrons charm packs are only $5.20. I am keeping them to add a little bit of chevron to my scrappy hexie projects. 

The Bali Batiks are all sold out(see, things go very fast here), and the Riley Blake small dots and 1/4" gingham mini layer cakes are $10.20 and $6.84 respectively. I wanted to have a little bit of polka dots and gingham prints to add to various projects. I just love Riley Blake fabrics!


They have the super-popular Olfa Splash rotary cutter on for 20% off, now only $14.96.

Remember, it is fast, easy and FREE to join Craftsy. There are lots of FREE classes and independent patterns to try as well as a large Clearance section and 19 quilting classes on sale(at the moment).

Here's the link to join or sign in: Craftsy 

Website owners and bloggers: Join Craftsy’s Affiliate Program Today


So I got going on the Giant Hexie Flower Quilt I told you about last post. I thought I would save time and use fabric glue when I fold over the seam allowances, instead of having to baste all those seams to the thick poster board. I wanted to save my hands…and my needles!

I was going pretty good on the first seam, but when I had sewed the second petal on and had to switch direction to sew that petal to the centre(white) hexie, the glued seam allowance of the white hexie started to pop off. Grrr..

I managed, with the help of my handy Clover Clips. I used them to keep the seam allowances folded over and attached to the poster board. 

There were a few minor curses though.


This is the fabric glue I used, I am sure you can find it at most large fabric/craft stores. I would go ahead and use the fabric glue to hold the seam allowances to the Giant Hexie petals, but for the centre piece I would definately baste them down.

It only took me an evening of watching Luther on Netflix to get the entire Giant Hexie Flower done. Now, I am going to go a step further and hand appliqué the hexie flower to a 60", or similar, square of fabric. 

I am not sure I have enough of that orange mini bias stripe I showed you last post. We will see how it goes. I have three more of these cut out and ready to go, once I have appliquéd and removed the poster papers from the first one. If the appliqué doesn't work out, I will have 4 baby/lap quilts to give away or sell.

I want to thank you so much for supporting my sponsors! With my small commissions, I can purchase items/supplies for my self-sponsored giveaways. And we all want more of those, don't we!!! hee hee hee

Thanks for reading and have a great day!


Jacqueline