Today I'd like to share my method for adding a flange border to the outside edges of a quilt. Note: this is just the way I do it, you may have your own method of doing this.
I am using the Layer Cake Lemonade from Fat Quarter Shop quilt top I demo-ed in this post.
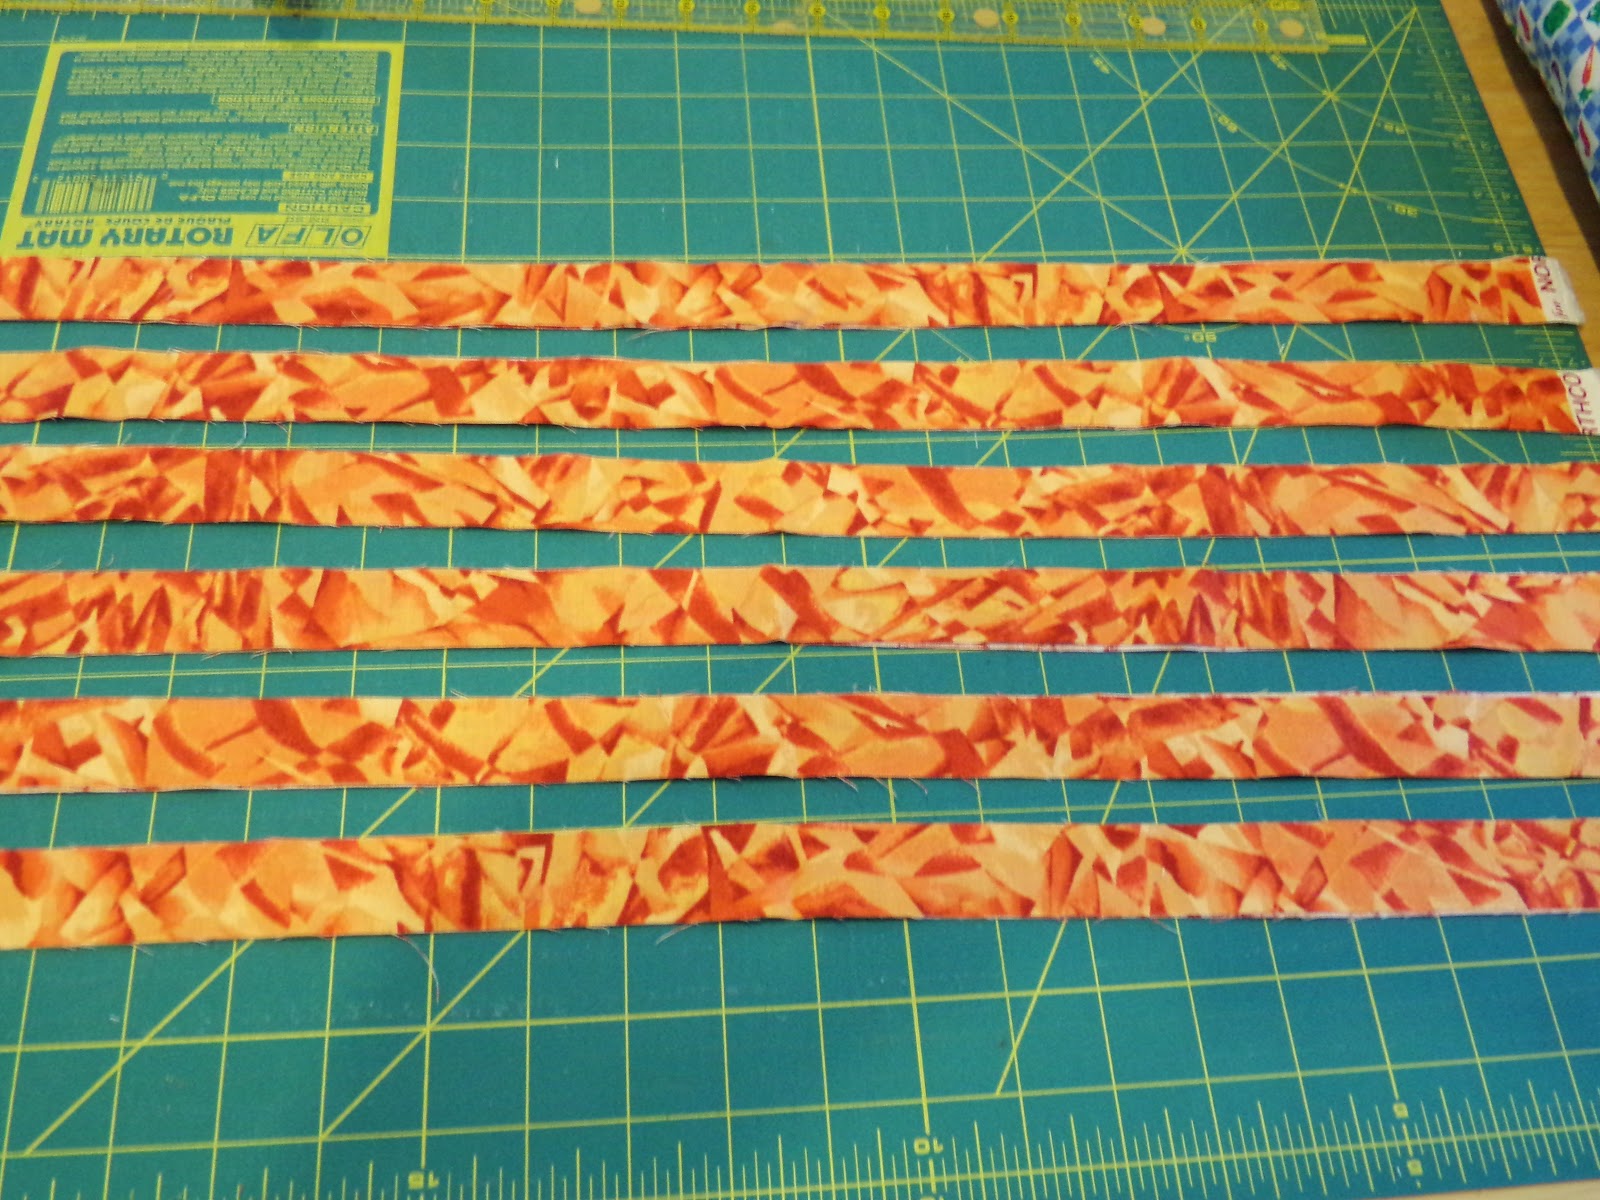
Measure the four edges of your quilt and cut enough 1"-wide strips to go all the way around, with a good half yard extra. I cut 6 x WOF x 1" strips and had about a half yard long strip extra at the end.

Piece your strips together on the diagonal, like you would for piecing binding strips together. Trim excess fabric from the joined ends, making sure to leave about a quarter inch seam allowance. Piecing the strips on the diagonal will reduce bulk once you have pressed the long skinny strip in half.

Press your seams open. I leave the little tags poking out so it is easier for my chubby fingers to separate the seam allowance!
I think I need to make a new ironing board cover...

Press the long strip in half, width-wise. As you can see, the seam allowance faces in two directions, eliminating the bulk in the skinny strip once it is folded.

Fold the long, folded strip in half, lengthwise and push a safety pin through the two ends. Sorry, blurry..one-handed photo!

Lay your quilt on the floor(carpeting works a charm here!). Pin the safety pin into the carpet pile(I actually press the pin into the foam underlay, just don't tell the Hubs!), making sure that the strips line up with the edge of the quilt top.
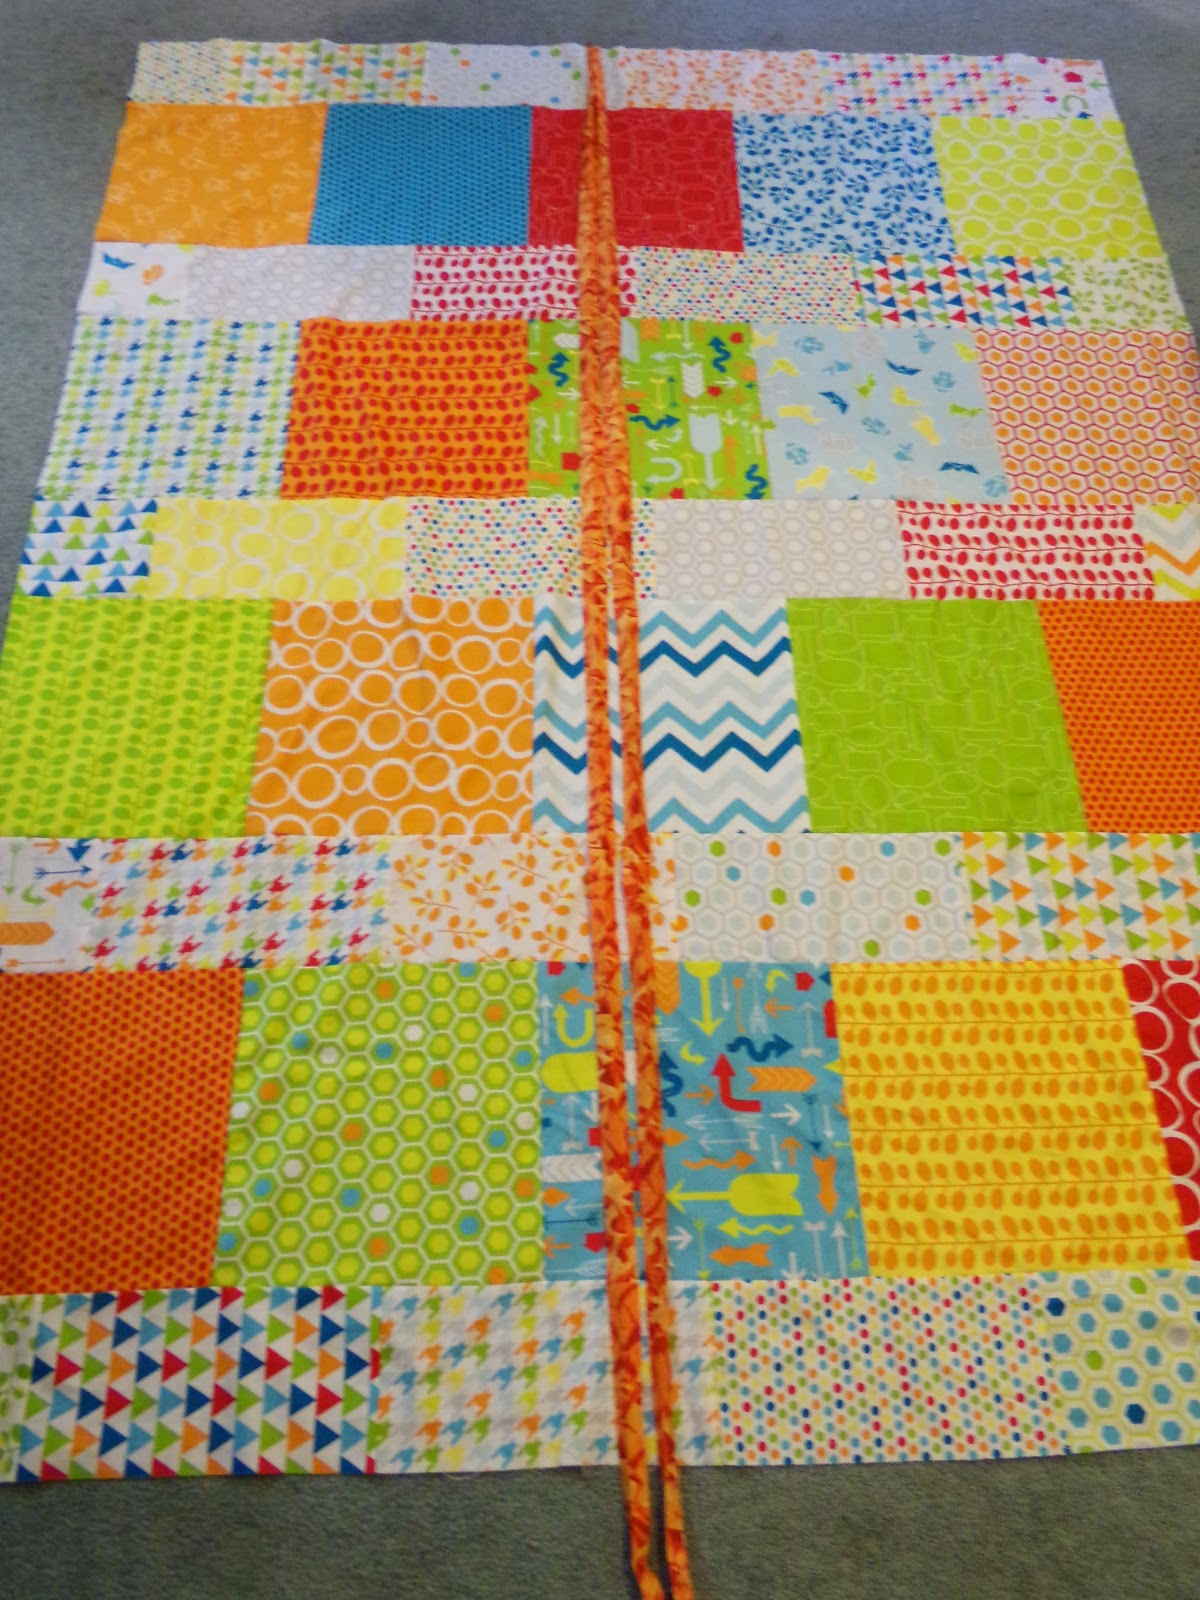
Gently lay the flange strips down the middle of the quilt top. Make sure to pull the flange strips slightly so that there are no excess bends or loops in the strips.
Trim both pieces at the same time so your quilt sides will be equal.

Do the same thing through the width of the quilt.

Starting down the right side, pin a flange strip end to the top and bottom corners, raw edges to the outer side. The folded edge of the flange strip should be facing the centre of the quilt top.

Fold the quilt top in half, top to bottom and mark the center point with a pin. Do the same with the flange strip. Match both center points and pin together. Next comes my least favourite part…get down on the floor and pin/clip the raw edges of the flange strip to the outside edge of the quilt top. Oh, my knees!!!
You may have to ease the quilt top edge (or the flange strip) in a little to make the end edges meet. I know I did!
Do the same for the left side.

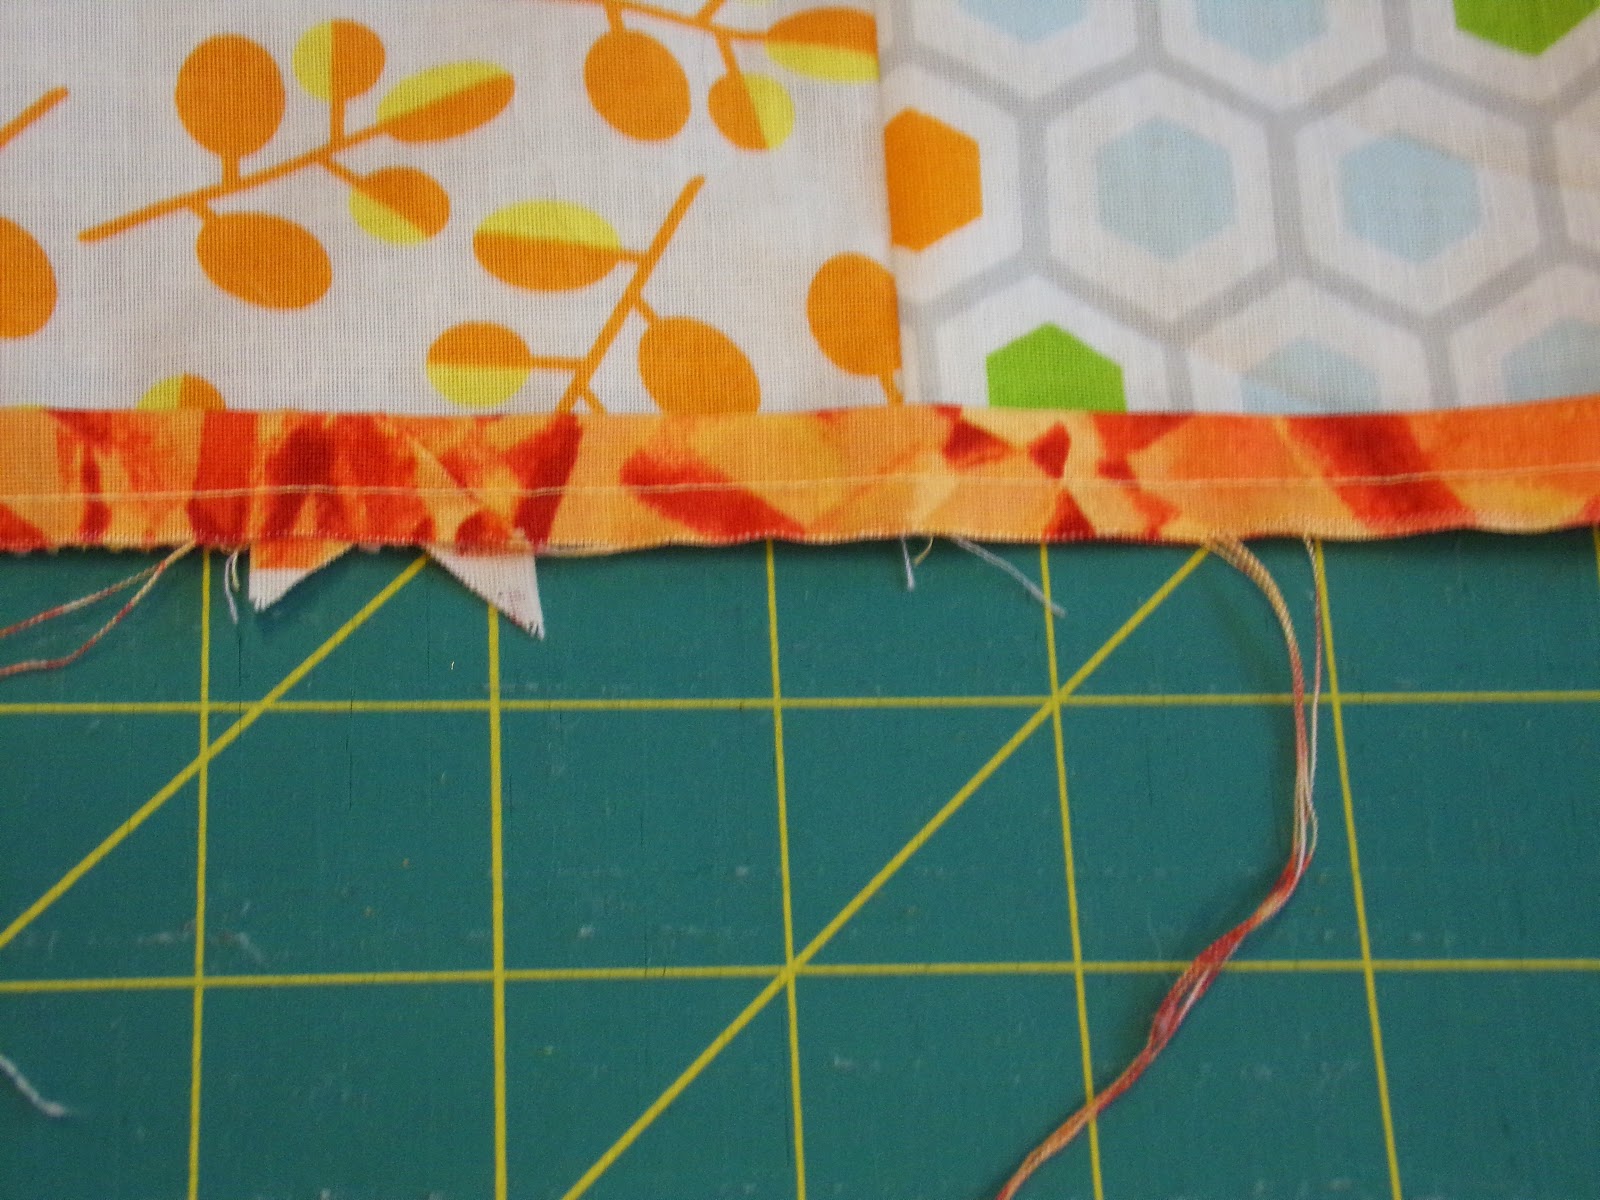
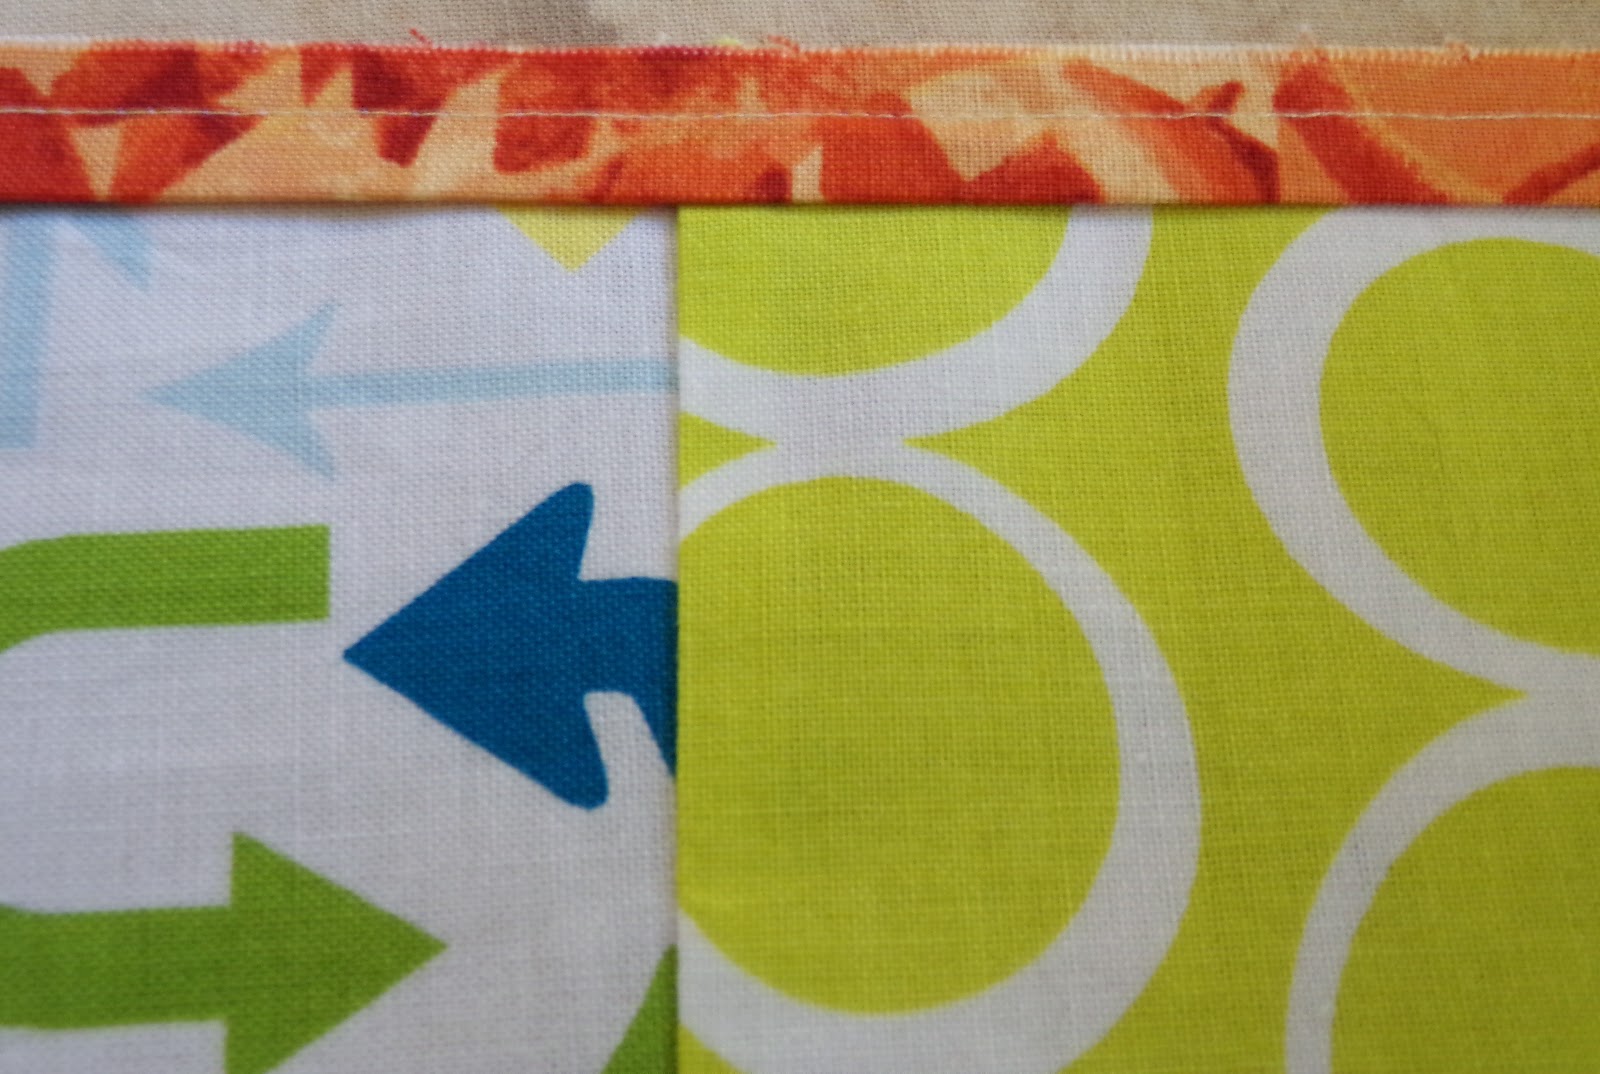
Now comes sewing the flange to the quilt top. I like to set my needle one click to the right, so that I am sewing less than a quarter inch from the edge.
This is important as when you go to sew the final border on with a true quarter inch seam, your flange seam will not show. I learnt this through trial and error!

Gratuitous sewing shot. I love, love my Clover Clips!!!

Now pin/clip your a flange strip to the top edge, again folding your quilt top and flange strip in half. Pin at each end and match up and pin your centres. Pin and ease in excess fabric, as needed.
Sew, sew sew!!!
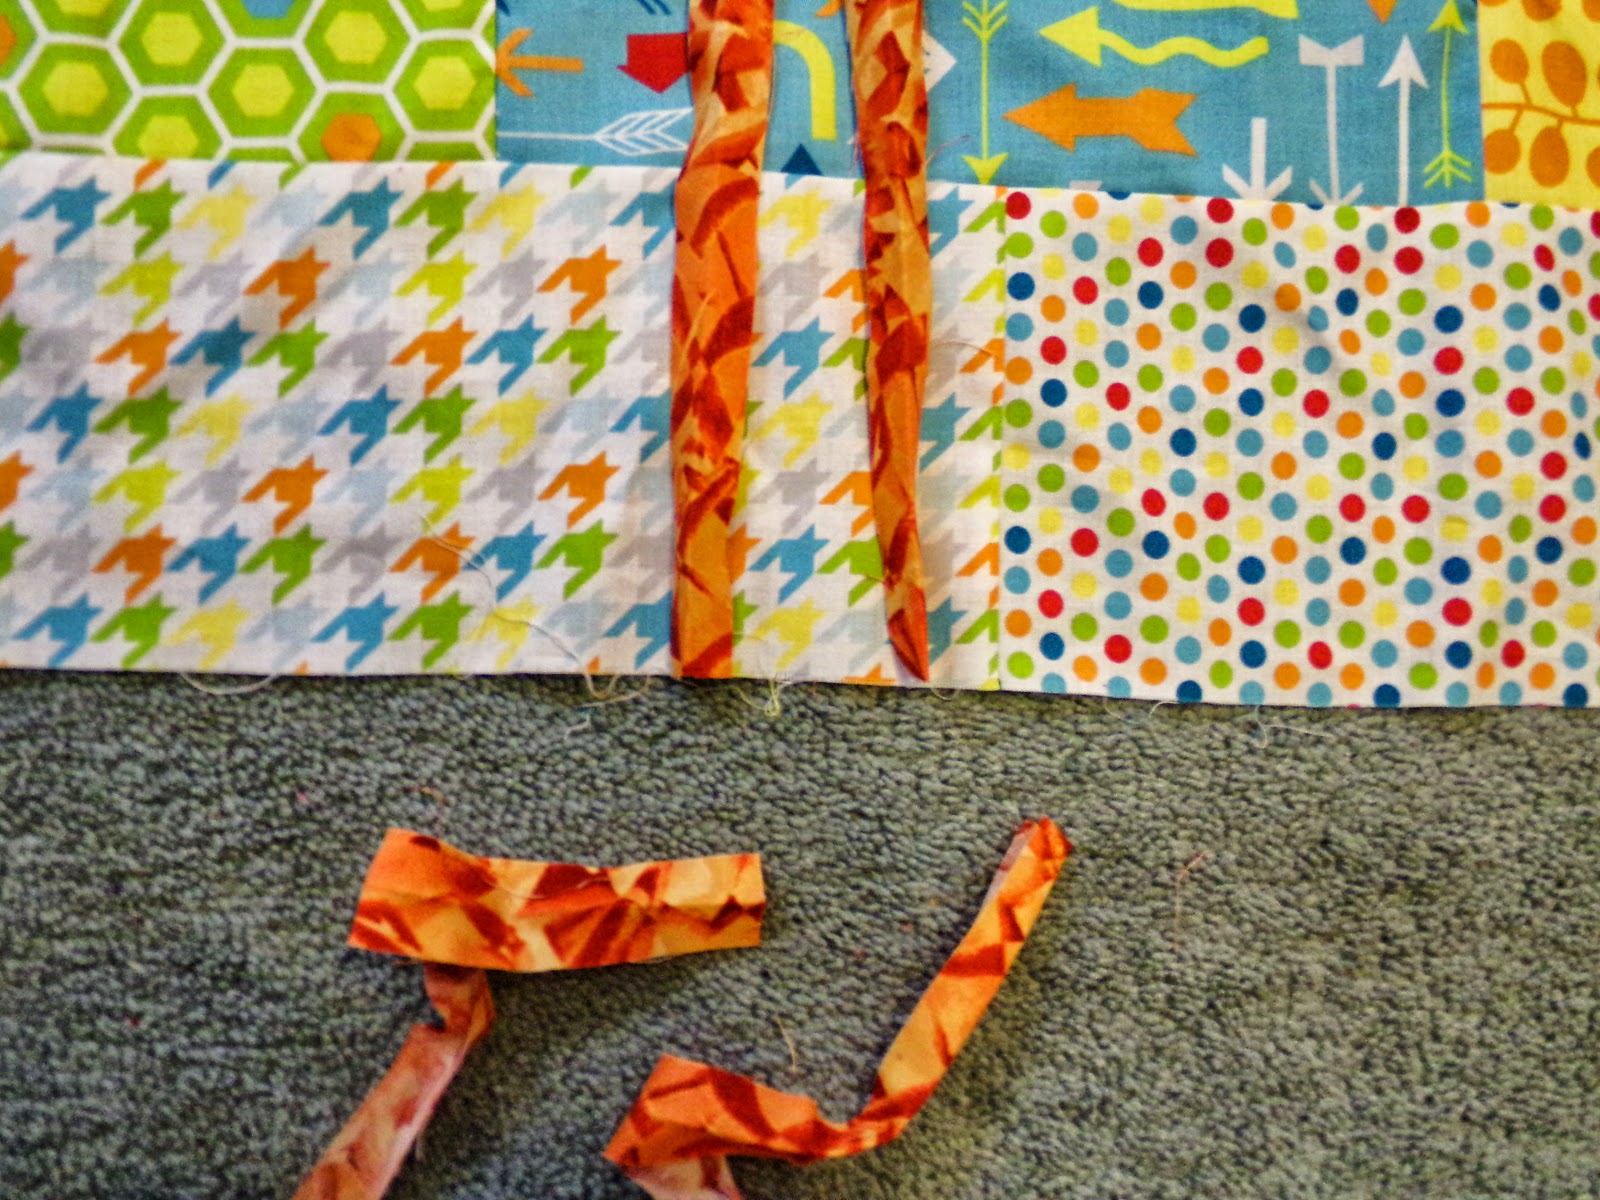
Once you are done sewing the four flanges on, it is time to head on over to the cutting board. Trim off any loose fabric threads and the little points where you joined your flange strips together. This is especially important if you have chosen an outer border fabric that is light in colour. Everything will show through.
This only takes 5 minutes, but boy is it ever worth it.

Press your quilt top from the back. This will set your stitches and flatten any bumps/bulges that may have occurred…ahem...

Now, turn your quilt top over to the front and press well. This will give your flange border a crisp knife-edge.
Ta-da!!!
You are done!
I hope you enjoyed my first-ever tutorial. Stay tuned for a tutorial on the Two Brothers border technique!
Please do comment and share with your friends. Feel free to pin to Pinterest.
Thanks for reading and have a great day!
Jacqueline